
2台alpine+clash.mate+mosdns+adguardhome 搭建局域网dns和流量代理
1台 alpine:安装mosdns+adguardhome,ip是10.10.10.9
1台alpine:安装clash meta,ip是10.10.10.20
安装alpine linux
可以参考:
vmware安装alpine linux
alpine linux 同步时间 转载
这里举一个安装的例子(esxi 6.7安装alpine linux)
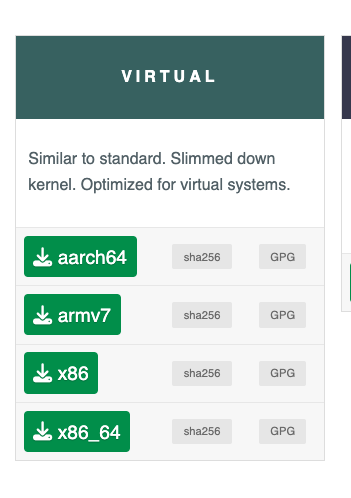
下载alpine的时候,选择现在针对虚拟机优化的镜像
esxi创建虚拟机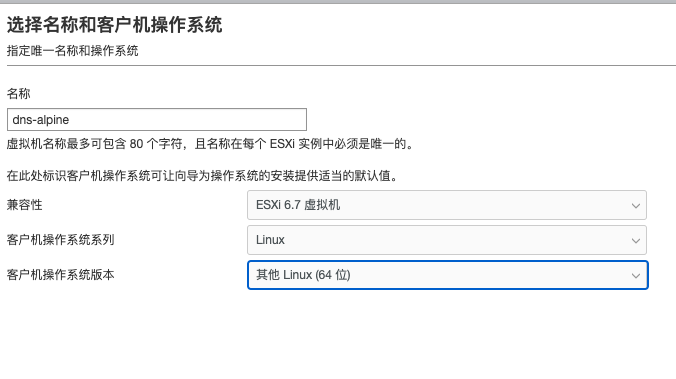
根据配置来自己选择,因为安装的服务需要的容量都不大,我自己给的硬盘是很小的,内存1g够够的,然后cpu给满就行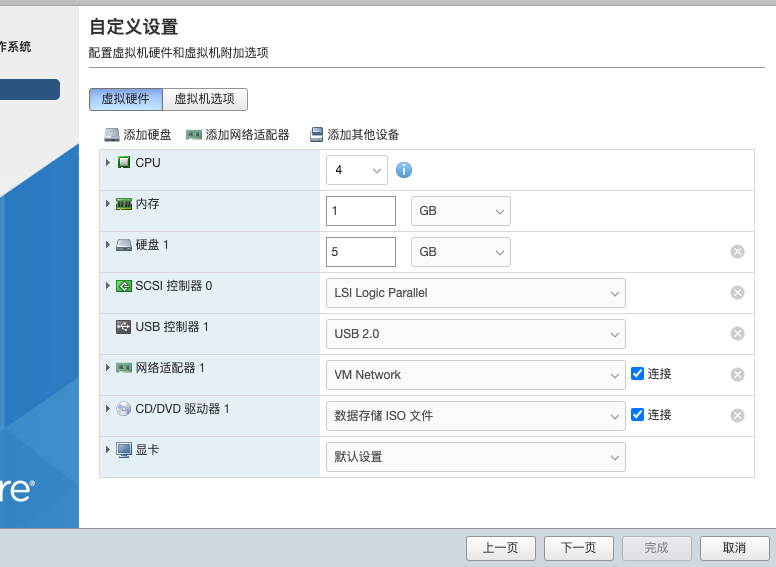
开始安装
出现上面的节点之后,使用root进行登陆。
然后使用setup-alpine安装alpine linux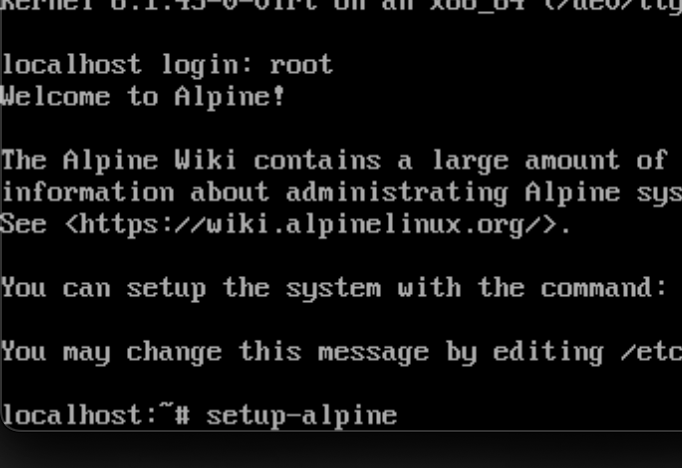
基本上都是一路回车
1:available keyboard loyouts 这里回车
2:system hostname 会车也行,自己输入也行
3:配置网口,默认回车就行
4:dhcp配置,会车就行,后面还会再配置静态ip
5:manual network configuration,手动配置网络,直接n
6:配置root密码
7:设置时区,输入:Asia/Shanghai
8:Http/Ftp proxy:会车
9:NTP客户端设置:会车
10:选择apk源:我选的是14,清华源(先按一下R,然后输入14)
11:set up a user? no,会车,因为就root权限就行了
12:ssh设置,回车
13:allow root ssh login? 输入yes
14:Enter ssh key ….. :会车
15:然后要配置硬盘了
这里显示只有一个sda,就是我们的虚拟硬盘,这里输入:sda ,然后会车
16:Hou would you like to use it?输入:sys
17:Earse the above disk?输入y
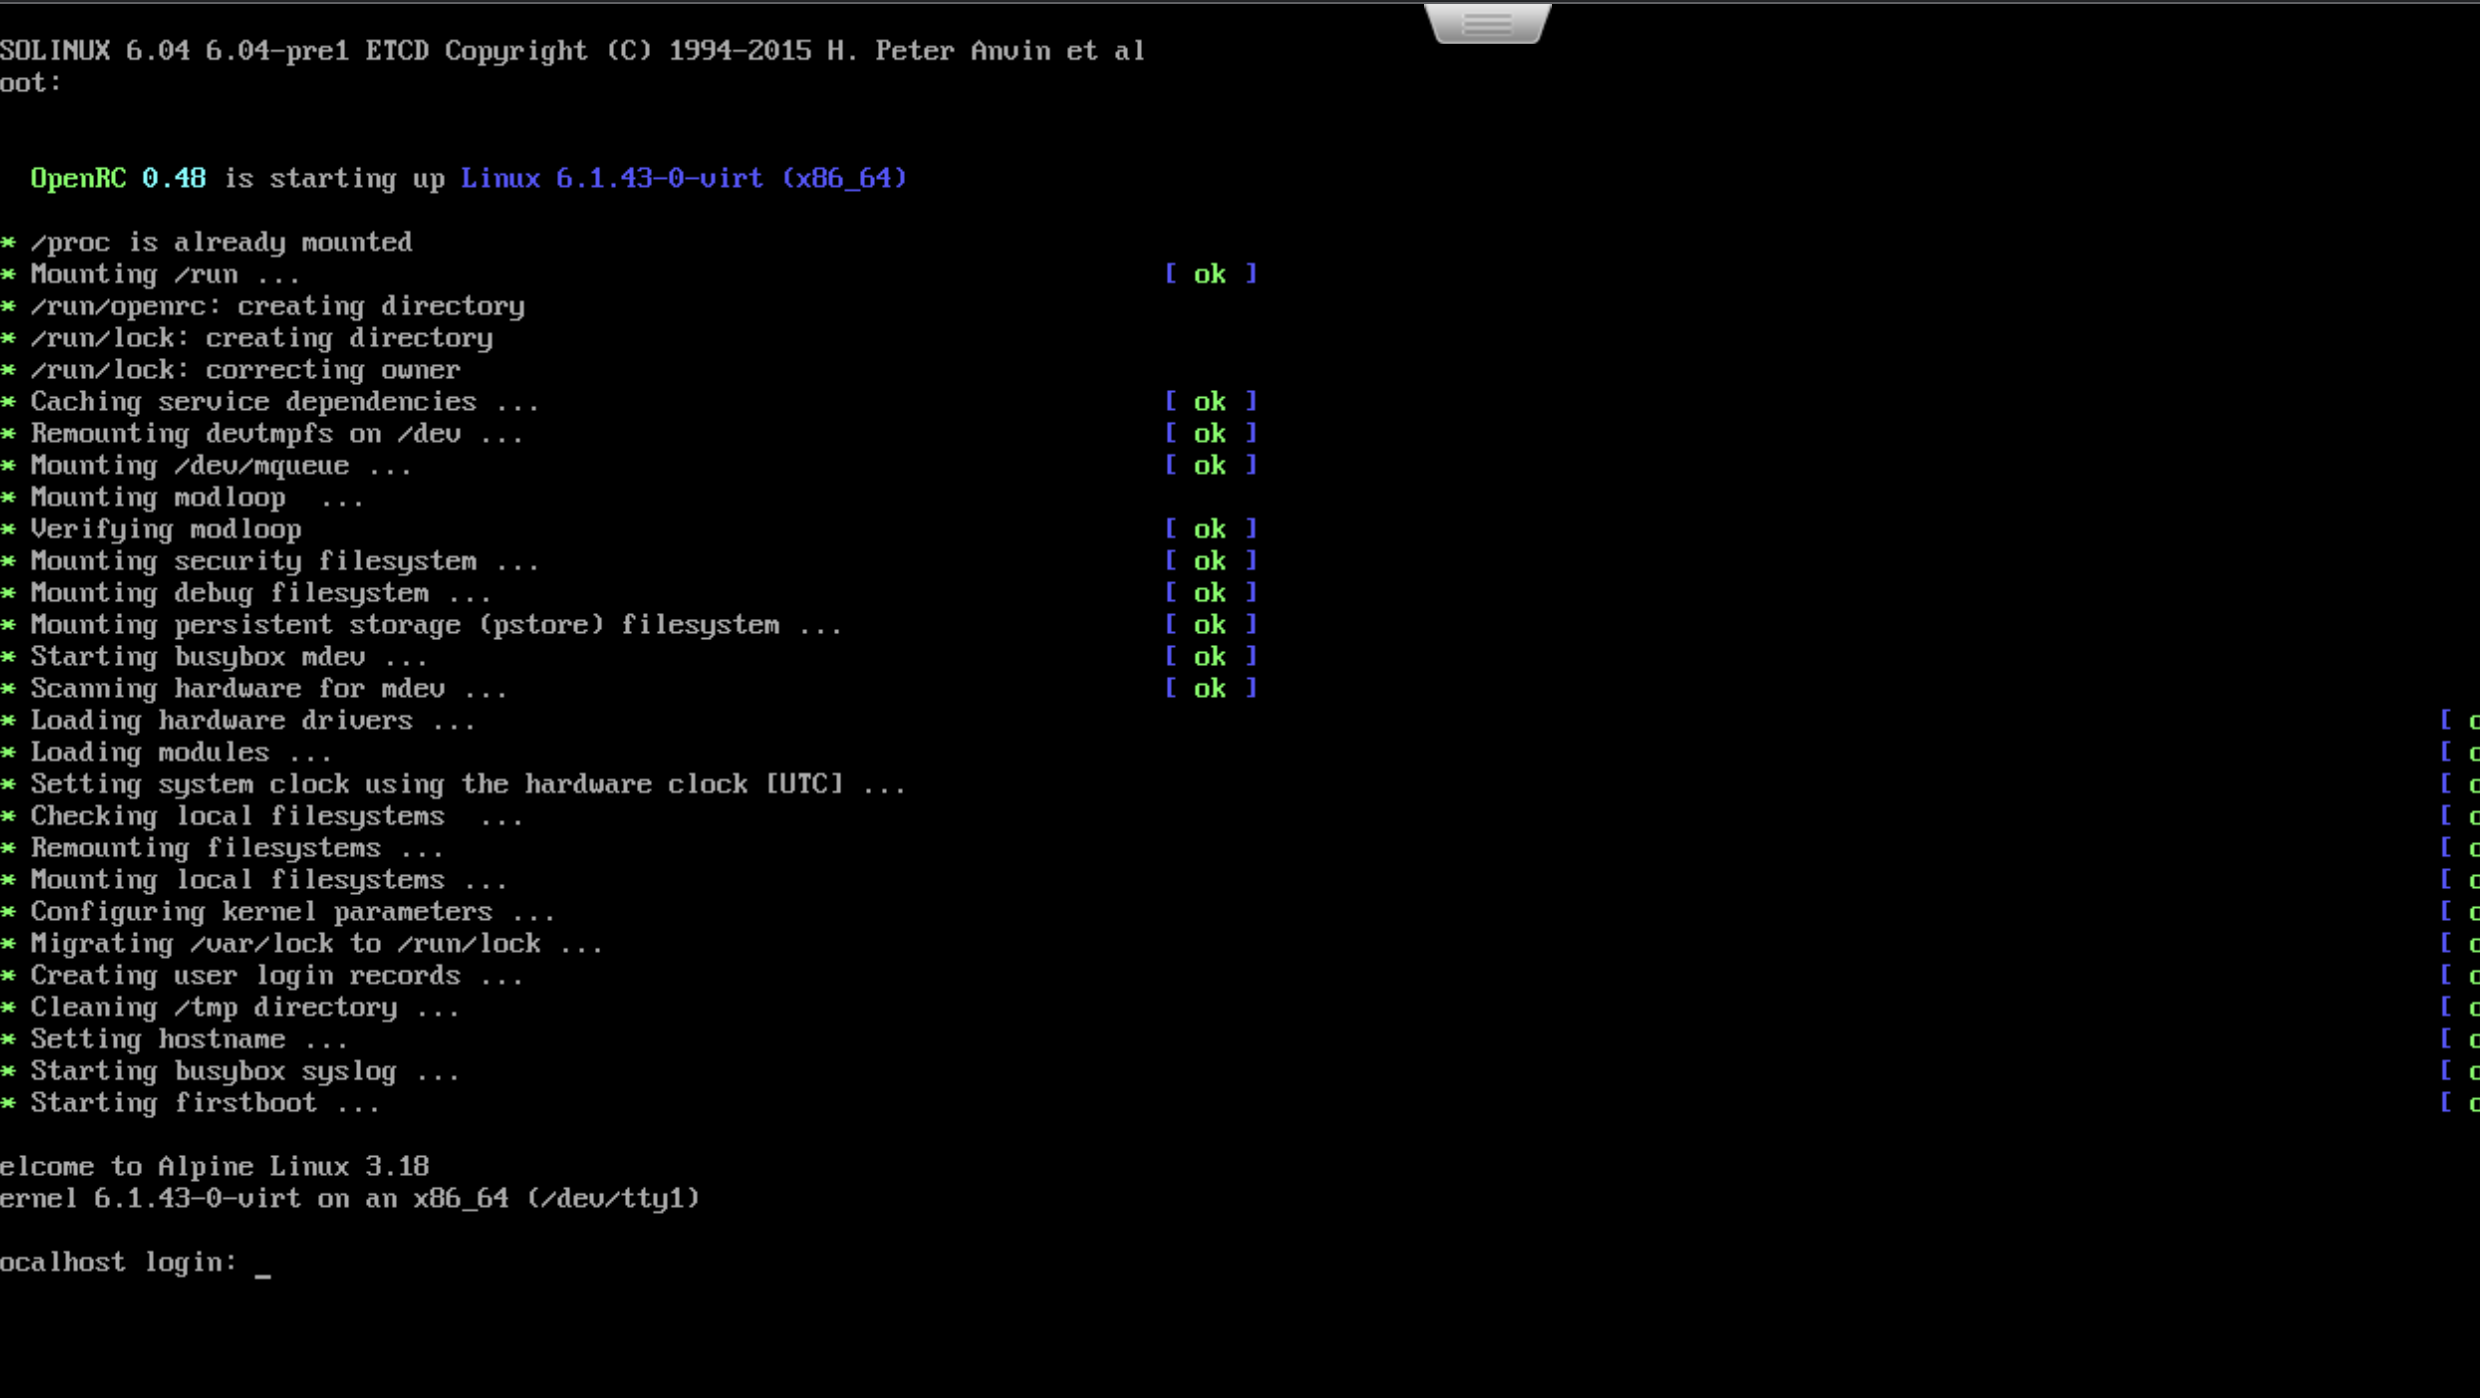
然后系统就安装到我们的硬盘里了, 直接输入 reboot重启就行了
alpine修改固定ip
也是在 /etc/network/interfaces下
auto lo
iface lo inet loopback

auto eth0
iface eth0 inet static
    address 10.10.10.20
    netmask 255.255.255.0
    gateway 10.10.10.1
iface eth0 inet6 static
    address fe80::20c:29ff:fedb:6969
    autoconf 1
    accept_ra 2
配置dns服务器
安装adguard home
curl -s -S -L https://raw.githubusercontent.com/AdguardTeam/AdGuardHome/master/scripts/install.sh | sh -s -- -v
安装mosdns
安装mosdns 4.5.3版本
wget https://github.com/IrineSistiana/mosdns/releases/download/v4.5.3/mosdns-linux-amd64.zip

unzip mosdns-linux-amd64.zip "mosdns" -d /usr/local/bin

chmod +x /usr/local/bin/mosdns
安装easymosdns v3版本
wget https://mirror.apad.pro/dns/easymosdns.tar.gz

tar xzf easymosdns.tar.gz

mv easymosdns /etc/mosdns
启动服务
mosdns service install -d /etc/mosdns -c config.yaml

mosdns service start (或者systemctl mosdns start)
```shell
定时更新ip
使用 crontab -e 命令在最后一行添加对应规则即可
每日5点整通过CDN下载更新规则的示例
0 5 * /bin/sh /etc/mosdns/rules/update-cdn
## alpine 开启tun,要不然clash的tun模式会无效
因为alpine 默认是没有tun的,所以要开启
```shell
sudo modprobe tun
sudo echo "tun" >>/etc/modules

# 检查是否生效
lsmod | grep tun
安装clash meta 和 面板
安装一点依赖
apk add iptables ip6tables
# 用来存放配置文件
mkdir /etc/clash.meta
#安装dashboard
cd /etc/clash.meta
git clone https://github.com/metacubex/metacubexd.git -b gh-pages ui
Clash.Meta系统服务
cat > /etc/init.d/clash.meta << EOF
#!/sbin/openrc-run

name="Clash.Meta"
description="Clash-Meta daemon, A rule-based proxy in Go."

command="/usr/local/bin/clash.meta"
command_args="-d /etc/clash.meta"
pidfile="/run/${RC_SVCNAME}.pid"

command_background=true

depend() {
    need net
    after net
}
EOF
添加权限,并注册系统服务,添加开机自启
chmod +x /etc/init.d/clash.meta
rc-service clash.meta start
rc-update add clash.meta
添加内核转发参数
编辑 /etc/sysctl.conf,添加下面的参数,开启ipv6和ipv4的内核转发
net.ipv4.tcp_no_metrics_save=1
net.ipv4.tcp_ecn=0
net.ipv4.tcp_frto=0
net.ipv4.tcp_mtu_probing=0
net.ipv4.tcp_rfc1337=0
net.ipv4.tcp_sack=1
net.ipv4.tcp_fack=1
net.ipv4.tcp_window_scaling=1
net.ipv4.tcp_adv_win_scale=1
net.ipv4.tcp_moderate_rcvbuf=1
net.core.rmem_max=33554432
net.core.wmem_max=33554432
net.ipv4.tcp_rmem=4096 87380 33554432
net.ipv4.tcp_wmem=4096 16384 33554432
net.ipv4.udp_rmem_min=8192
net.ipv4.udp_wmem_min=8192
net.core.default_qdisc=fq
net.ipv4.tcp_congestion_control=bbr
net.ipv4.conf.all.route_localnet=1
net.ipv4.ip_forward=1
net.ipv4.conf.all.forwarding=1
net.ipv4.conf.default.forwarding=1
fs.file-max=1000000
net.ipv6.conf.all.disable_ipv6=0
net.ipv6.conf.lo.disable_ipv6=0
net.ipv6.conf.default.disable_ipv6=0
net.ipv6.conf.default.forwarding=2
net.ipv6.conf.all.forwarding=2
net.ipv6.conf.all.accept_ra=2
net.ipv6.conf.default.accept_ra=2
net.ipv6.conf.eth0.accept_ra=2
使用 sysctl -p使这个内核永久生效。
配置ipv6的路由通告
因为ipv6的路由协议并没有实现router advertisement
但是可以使用radvd这个软件,通过设置RA的优先级,来变相实现ipv6的路由通告
apk add radvd
添加下面的配置文件: vim /etc/radvd.conf
interface eth0 { ## 定义有IPv6的那个接口的名称,也就是旁路LAN口的名称
        IgnoreIfMissing on;
        AdvSendAdvert on;
        MaxRtrAdvInterval 600;
        AdvReachableTime 0;
        AdvDefaultPreference high;
        route 2000::/3 {
                AdvRouteLifetime 1800;
                AdvRoutePreference high;
        };
};
启动radvd和开机自启:
rc-service radvd start
rc-update add radvd
参考资料
在Alpine上配置Clash.Meta透明代理来做旁路网关
为局域网ipv6设备指定网关
土制 Linux 路由器(Chapter 1):设置一个简单的家用 Linux 路由器